
 Fcozpjk
Techniques
Rhinestone decorating: design techniques that look professional
The difference between homemade and professional rhinestone work is mostly layout. Here are the techniques.
Plan the design first
- Sketch at full size on paper, or print your design and trace it.
- Decide coverage: full (stones touching), dense (small gaps) or scattered.
- Choose sizes with the Rhinestone size chart and count stones with the How many rhinestones do I need? — per colour.
- Mark the centre line on symmetrical objects so the design doesn’t drift.
Outlines, fills and rows
Lay the outline of every shape first, one stone wide, in a slightly larger size. Then fill inward. Offset each row by half a stone — a honeycomb — which packs about 15% more stones than a square grid and leaves fewer gaps. On curves, drop in one or two smaller stones rather than forcing a row to bend.
Pick-up pens and trays
Wax pencils and ridged trays that turn stones face-up.
Fcozpjk haozher
Rhinestone picker set
glue glue included
View on Amazon Alrhso
Rhinestone picker set
View on Amazon Maitys
Rhinestone picker set
View on Amazon ESUOHYM
Rhinestone picker set
View on Amazon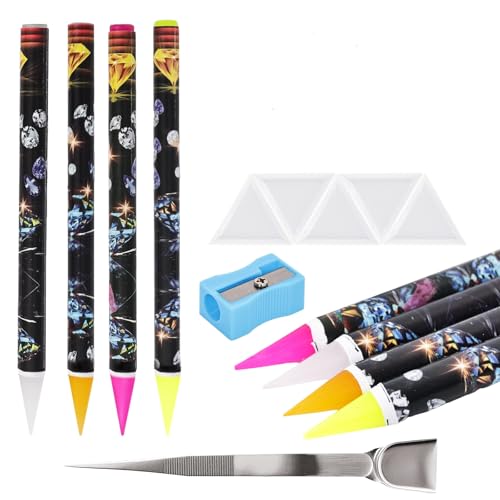 qifuwanjingfeng
Rhinestone picker set
View on AmazonOmbre, gradients and colour
- Blend over three or four rows, mixing the two colours in the middle rows.
- Crystal (clear) and crystal AB lift any colour palette and hide small gaps.
- Limit a design to three or four colours unless you are gemmaxxing on purpose.
- Jelly and AB finishes glow; foil-backed glass flashes — mixing them changes the look, so test a patch.
Glass flatback rhinestones
Foil-backed glass for the most sparkle; glue-on.
 BEADSLAND
Glass flatback rhinestones, SS10
1,440 pcs · glass
View on Amazon BEADSLAND
Glass flatback rhinestones, SS30
576 pcs · glass
View on Amazon BELLEBOOST
Glass flatback rhinestones, SS12
2,000 pcs · glass · B7000 glue included
View on Amazon ICAI Beads
Glass flatback rhinestones
10,000 pcs · glass
View on Amazon MEIBITE
Glass flatback rhinestones, SS20
1,440 pcs · glass · E6000 glue included
View on Amazon BELLEBOOST
Glass flatback rhinestones
4,520 pcs · glass
View on AmazonLettering
Letters need to be big enough to read: SS6–SS10 for small text on a cup or cap, SS16 or larger for words across a back. Outline each letter, then fill; for script, follow the stroke with a single line of stones. Space letters by at least one stone’s width.
Templates and transfers
For logos, names and repeated designs, crafters cut a template with holes for each stone, brush stones into it, lift them as a group with transfer tape and press them with a heat press (hotfix) or onto glue. It gives perfectly even spacing. See How to use a hotfix applicator.
Common questions
How do you space rhinestones evenly?
Use offset rows with stones touching or a hairline apart, work from an outline inward, and use a template for anything that must be precise.
Should you outline or fill first?
Outline first. It fixes the shape; the fill then adapts to it.
What size rhinestones for lettering?
SS6–SS10 for small text, SS16 or larger for bold words.
We may earn a commission when you buy through these links, at no extra cost to you. How we choose products